Solar energy continues to transform the global power industry. Among all technologies, solar trackers play a key role in improving energy output and efficiency. This article explains the importance of solar trackers in photovoltaic (PV) power plants, their advantages, and how to easily install a single-axis solar tracker step by step.
1. Why Solar Trackers Matter
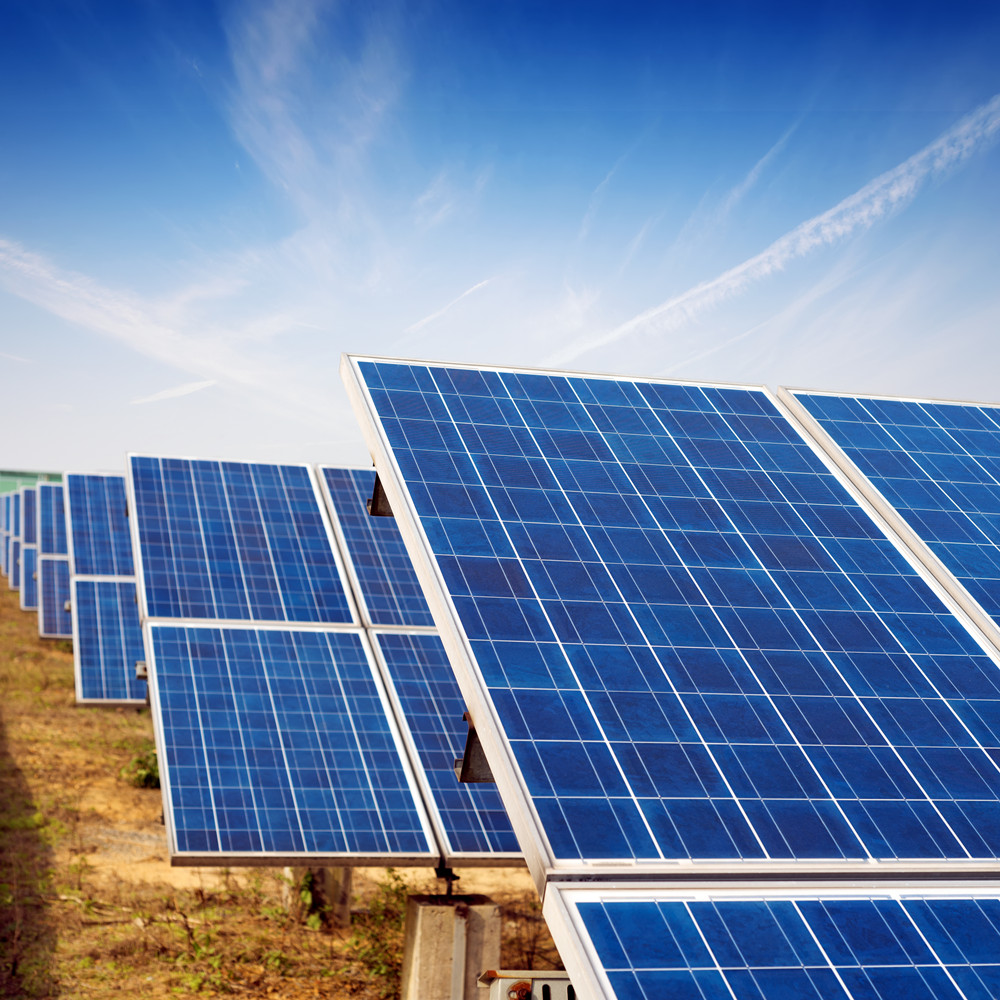
A solar tracker allows PV panels to follow the movement of the sun across the sky. Instead of staying fixed at one angle, the tracker adjusts the panel’s position throughout the day.
This motion helps solar panels maintain the optimal tilt angle for sunlight exposure, ensuring they generate maximum energy output. Compared with fixed-tilt systems, a solar tracker can increase power generation by 20–30%, depending on the location and design.
In large-scale solar plants, every percentage of efficiency matters. Trackers make the most of sunlight hours, boost the return on investment, and shorten the payback period for solar projects.
2. Benefits of Using Solar Trackers in PV Power Plants
Solar trackers are now widely used in utility and commercial solar farms. Their advantages include:
- Higher Energy Production: Trackers extend the effective working hours of each PV module by keeping them aligned with the sun’s path.
- Improved Efficiency: Real-time adjustments reduce shading and reflection losses.
- Better Land Utilization: Trackers allow higher output from the same installation area.
- Stronger Return on Investment: More power generation means greater long-term profit for investors.
- Smart System Integration: Modern trackers include intelligent controllers for automatic adjustment and data communication.
With these benefits, it’s no surprise that most new large-scale PV plants now use single-axis solar tracking systems to maximize performance.
3. Easy and Efficient Installation
Although solar trackers sound complex, their installation process is straightforward with proper tools and basic training. CDS Solar’s simplified single-axis tracker system is designed for quick assembly and low maintenance.
All key parts — pillars, torque tubes, dampers, controllers, and PV modules — are modular, making the installation process efficient and beginner-friendly.
4. Step-by-Step Guide to Install a Simple Solar Tracker
Step 1: Install the Pillar
Drive the pillar about 1.5 meters deep into the ground , and ensure that the perpendicularity and position error of the pile A head are within the requirements.Install the slew drive bracket on the top of the pile A, and adjust the installation height through the vertical long round hole of the pile A.This foundation is key to keeping your tracker stable.
Step 2: Mount the Torque Tube Bracket
Place the torque tube bracket on top of the pillar. Adjust the height to make sure the torque tube is perfectly horizontal. Once leveled, tighten all bolts securely.
Step 3: Attach the Slew Drive
Position the slew drive on its bracket. Align all four mounting holes and secure with bolts. Proper alignment ensures smooth rotation during operation.
Step 4: Connect the Torque Tubes
Use a forklift to support the tubes during installation. Start by connecting torque tube 1 to the slew drive, followed by tube 2 and 3. Adjust the bracket height to make sure all tubes align perfectly before tightening bolts.
Step 5: Install Plastic Bearings
Fix the plastic bearings at each bracket. Check that the notches are correctly positioned. If needed, slightly lift the torque tube for adjustment.
Step 6: Mount the Damper Arms and Dampers
Attach the upper arm of the damper near the plastic bearing using U-bolts. Then secure the lower arm to the pillar. Finally, connect the damper between both arms with pins and cotter locks. Dampers reduce vibration and protect the structure from wind loads.
Step 7: Fix the Purlins
Install the purlins above the torque tube using U-bolts. Keep a spacing of 80mm from the edge and 1142mm between each purlin. This alignment ensures panel stability and easy mounting later.
Step 8: Installation the Tracker Controller
Fix the controller box onto the torque tube using U-bolts, about 300mm from the head of the tube. Ensure it’s accessible and protected from direct exposure.
Step 9: Connect the Power and Communication Cables
For AC systems, connect the L and N lines to the correct terminals. For DC-powered systems, link the photovoltaic module output to the controller using MC4 connectors. Always verify polarity before switching on power.
Step 10: Install the PV Panels
Place the solar panels on the purlins using bolts. Adjust spacing as needed, and ensure all modules are level within ±2mm. Tighten bolts after final alignment.
Step 11: Install the End Caps
Once all components are in place, cap both ends of the torque tube to prevent dust and moisture from entering.
5. Testing and Final Check
After installation, check:
- All bolts are tight
- The torque tube is level
- The system rotates smoothly under power
Once the tracker moves normally, your installation is complete.
6. Conclusion
A solar tracker isn’t just an accessory — it’s a key component for maximizing solar energy efficiency. With its simple design and easy installation, even a small team can set up a complete system in a short time.
By following this guide, you can install a reliable, cost-effective single-axis solar tracker that delivers long-term performance and higher energy yield for any PV power plant.
CDS Solar — Delivering intelligent and efficient solar tracking systems for global clean energy projects.